
Can I dehydrate in an Instant Pot in 2024?
Yes, you can Dehydrate in an Instant Pot but it is not a conventional method.
In recent years Instant Pots have continued to launch different models with upgraded features, Still using Instant Pots for dehydrating food remains highly discouraged.
Despite the latest model, Instant Pot Duo Crisp having an “air fry” feature with a dedicated “dehydrate” setting, safety concerns are still raising eyebrows.

What is an Instant Pot?
An Instant Pot is a multi-purpose cooker that offers a variety of options like cooking, Slow cooking, Rice cooking, Steaming, Sauteing, heating, and making yogurt.
Instant Pots have come a long way since 2010.
In 2024 Instant Pot offers a large variety of models including Duo Plus, Smart wifi, Etc. Size ranged from 3-quart to 10-quart. While Mostly prefer the Duo model newer models provide additional features like Baking cakes, egg making, and smart app control which you can control through your phone.
In today’s time, Instant Pots provide more choices and functionalities, catering to diverse cooking needs.
How do you Dehydrate in an Instant Pot?
Here are the step-by-step instructions on how to dehydrate in an instant pot:
Before you start:
Check your model
Find out whether your pot is a newer model like Instant Pot Duo crisp + Air Fryer or Instant Pot Vortex which offers dedicated “Dehydrate ” functions, If your Instant Pot Model is older then you have to use the “saute” or “Pressure Cook” settings.
Choose your food
Fruits, Vegetables, herbs, and even meats can be dehydrated but you should always start with easy ones like fruits and veggies, and as you are getting pro then try to dehydrate meats.
Prepare your Food
Wash and slice your chosen food into thin, uniform pieces because uniform slices are very important to get evenly crispy foods.
Dehydrating with the newer model using the “Dehydrate” Setting:
Attach the dehydrating rack
Find the Suitable Rack -Find a designated dehydrating rack suitable for your Instant Pot Model. It should be made of stainless steel or silicone and have raised mesh or holes for airflow.
Secure the Rack Properly – Read the instructions manual carefully for a specific set of instructions on how to attach the rack. Usually, it should slot into designated grooves or sit securely on top of the inner pot’s rim.
Ensure clearance – Make sure that the rack sits above the inner pot’s bottom, Typically 1-2 inches above to allow proper circulation around your food. Don’t place it directly on the bottom, otherwise, it can lead to uneven drying or burning.
Arrange your Food
Spread in a single layer – Spread your prepped food pieces evenly across the entire rack surface in a single layer. This ensures all pieces get equal heat and air for equal consistency.
Airflow makes a difference – Leave space between individual pieces, Overcrowding foods traps moisture and slows drying which maximizes spoilage risk.
Thickness is the key – Try to aim for uniform thickness to get even results.
Select the “Dehydrate” Setting
Dehydrate Function – Find out the “Dehydrate” function on your Instant Pot’s Panel.
Temperature matters – Choose a suitable temperature based on your food. Mostly Fruits and Vegetables lie between 130°F (54°C) and 150°F (66°C).
Correct timing – Set the desired drying time Based on your temperature and type of food or consult resources.
Experiment around – Play around or experiment with your food to get the perfect timing and temperature.
Start dehydrating & monitor:
Don’t just set and forget – Even with “Dehydrate”, monitoring is crucial. Drying times often vary due to thickness, Water content, and fluctuations in temperature.
Watch out – When your food dries, it will shrink in size, lighten in color, and feel crumbly or brittle while touched.
Touch it, Touch it – The ultimate test is touching a piece. When it is completely dry, it should be brittle and snap easily.
Adjust on the go – Adjust the drying time or temperature based on your observations, if needed.
Dehydrating with the older model using the “Saute” or “Pressure Cooker” Setting:
Use a steamer basket or trivet
Place a steamer basket or trivet inside the inner pot and make sure it sits elevated above the bottom. This allows hot air to circulate around your food for even drying.
Line the basket (optional)
For small items like herbs that could easily fall through the holes to prevent them from falling consider using parchment paper.
Spread your food
Arrange your food pieces in a single layer across the basket’s surface to allow proper airflow and avoid clumping.
Choose your heat source
Saute: Low and slow: Select the “Saute” setting and choose the lowest possible temperature if you are trying for slow, gentle drying and not searing.
Pressure Cook: Low and Controlled: Choose the “manual” setting on the pressure on the pressure cooker function. Set the cooking time to 0 minutes to avoid actual pressure cooking. Utilize the natural release steam and prevent it from burning.
Adjust and monitor
Drying time will vary. Rotate your food frequently, Adjust the temperature, or try to open the lid further if needed to avoid burning.
Test for dryness
When your food is completely dry it should be crispy and snap easily, shouldn’t be bendy.
Useful Tips:
Start small – Always start small. Especially when trying new foods, to avoid over-drying or burning.
Invest in an Oven Thermometer – If your Instant Pot model lacks a temperature display, Consider purchasing an oven thermometer to monitor and adjust the heat accurately.
Additional accessories – Dehydrating Mats can improve airflow and drying efficiency in both settings.
Store Properly – Once dehydration is done, store your food in airtight containers in a cool, dark place to prevent spoilage.
Products Mentioned :
| Image | Product | Feature | Price |
|---|---|---|---|
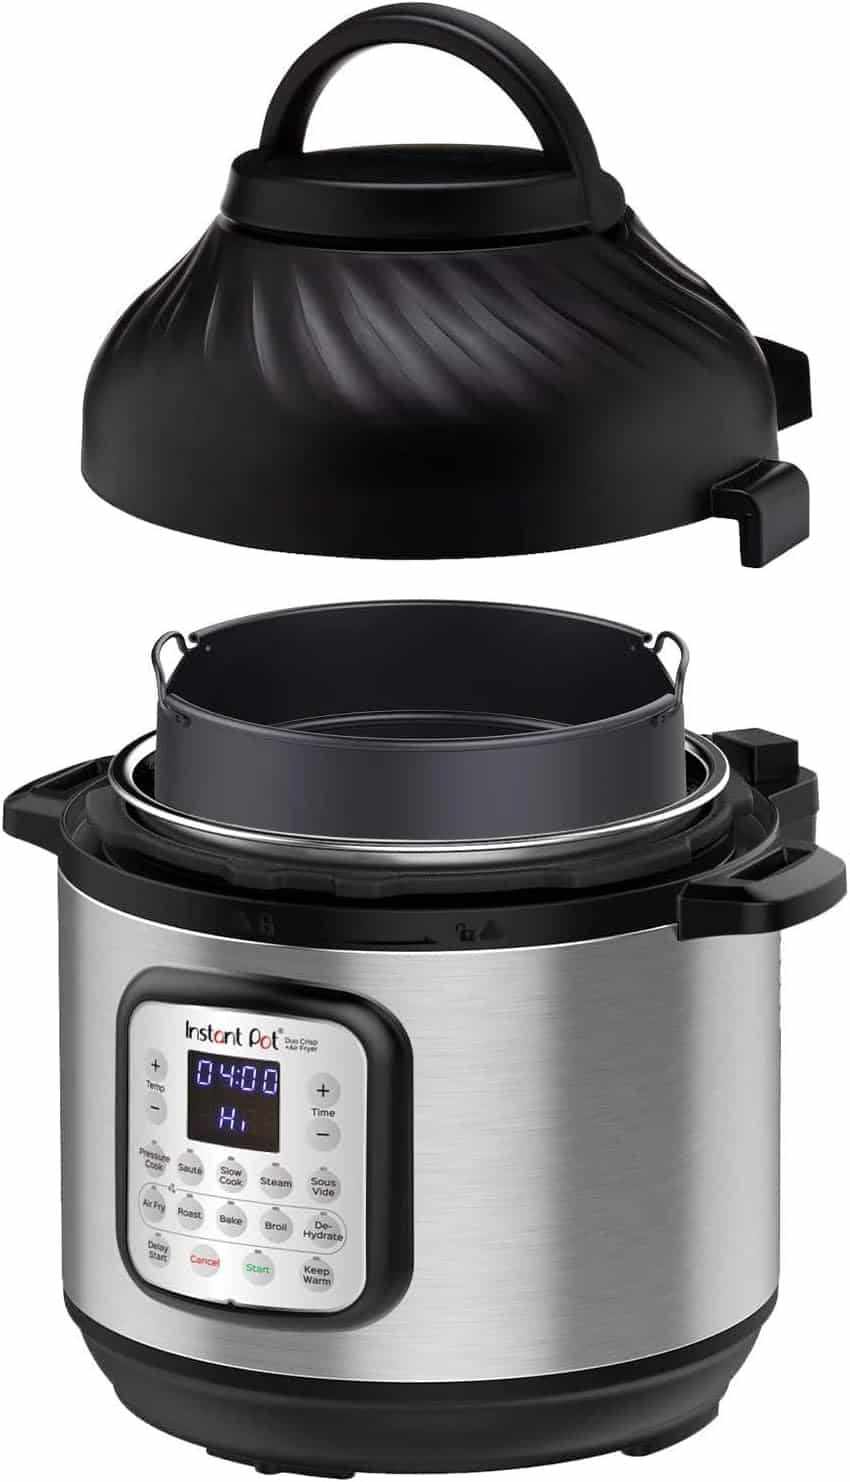 | Instant Pot Duo Crisp, 11-in-1 |
| Check Price on Amazon |
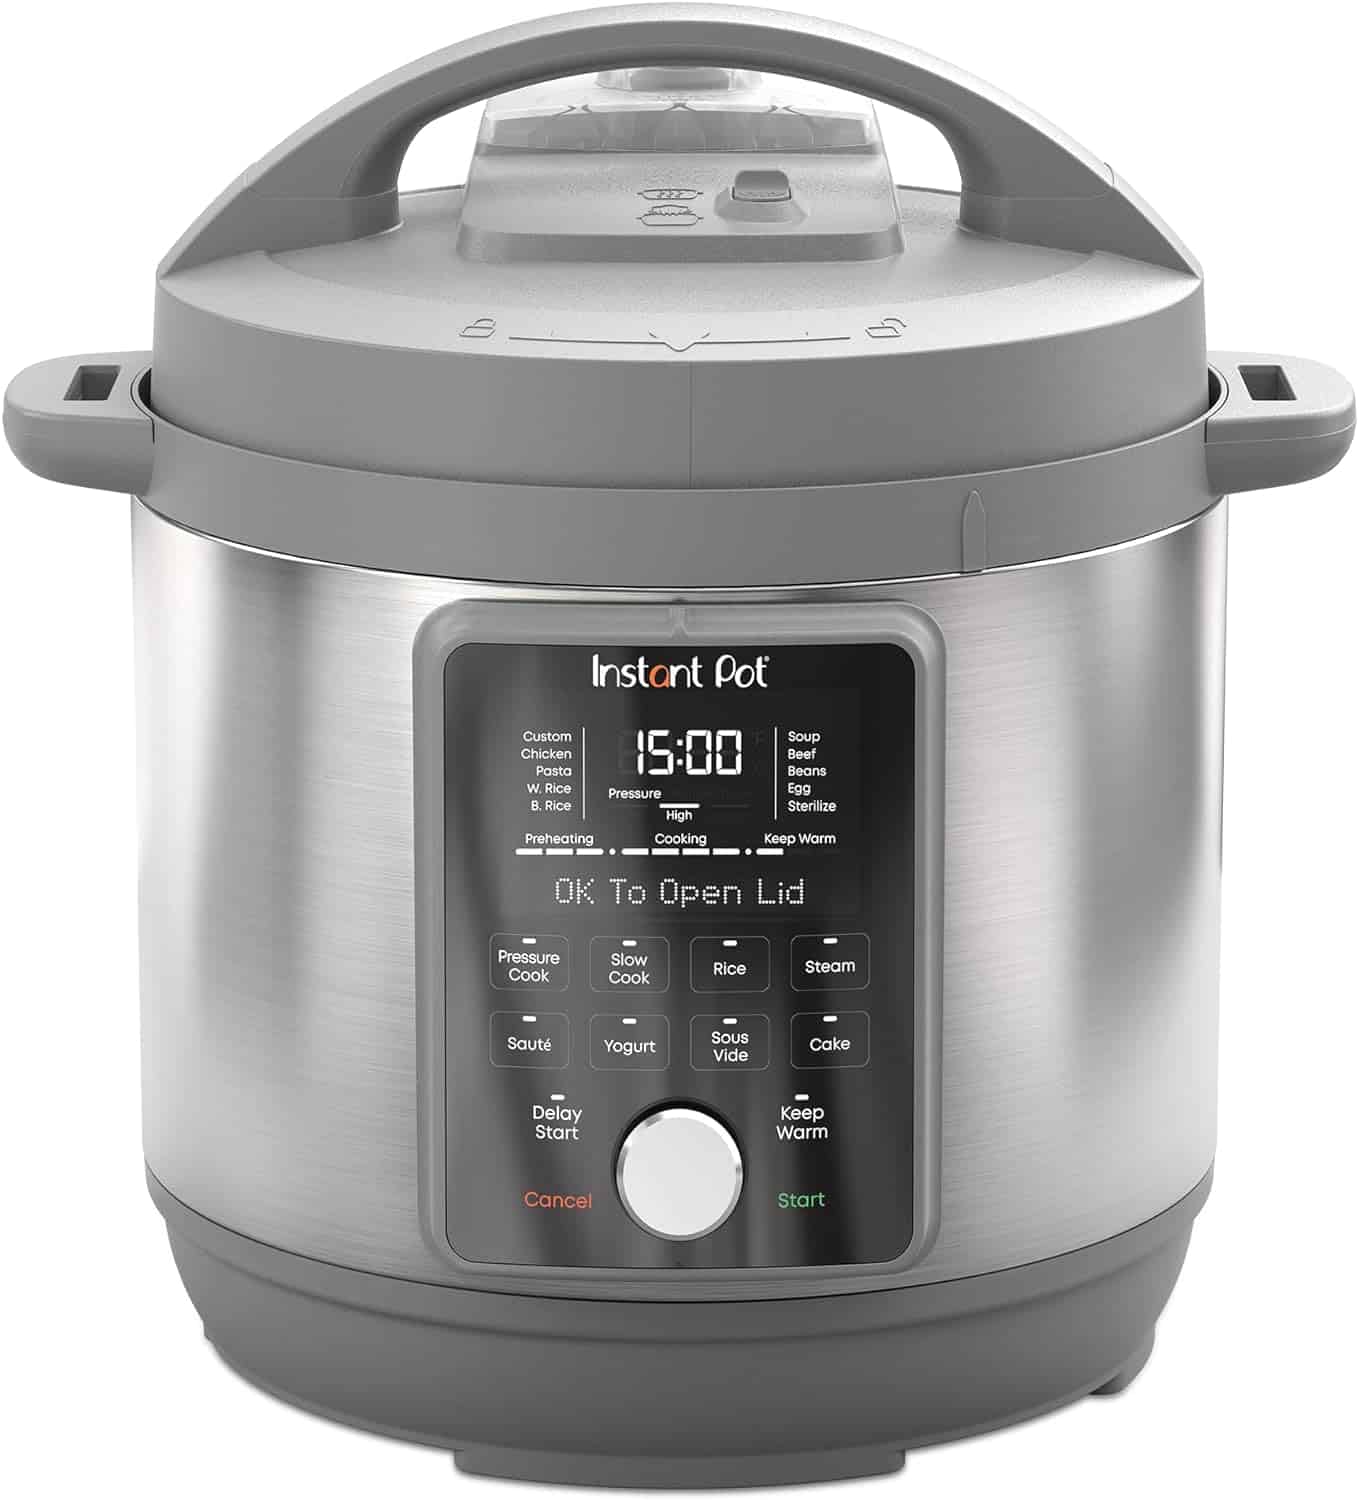 | Instant Pot Duo Plus, 9-in-1 |
| Check Price on Amazon |
 | Instant Pot Duo, 7-in-1 |
| Check Price on Amazon |
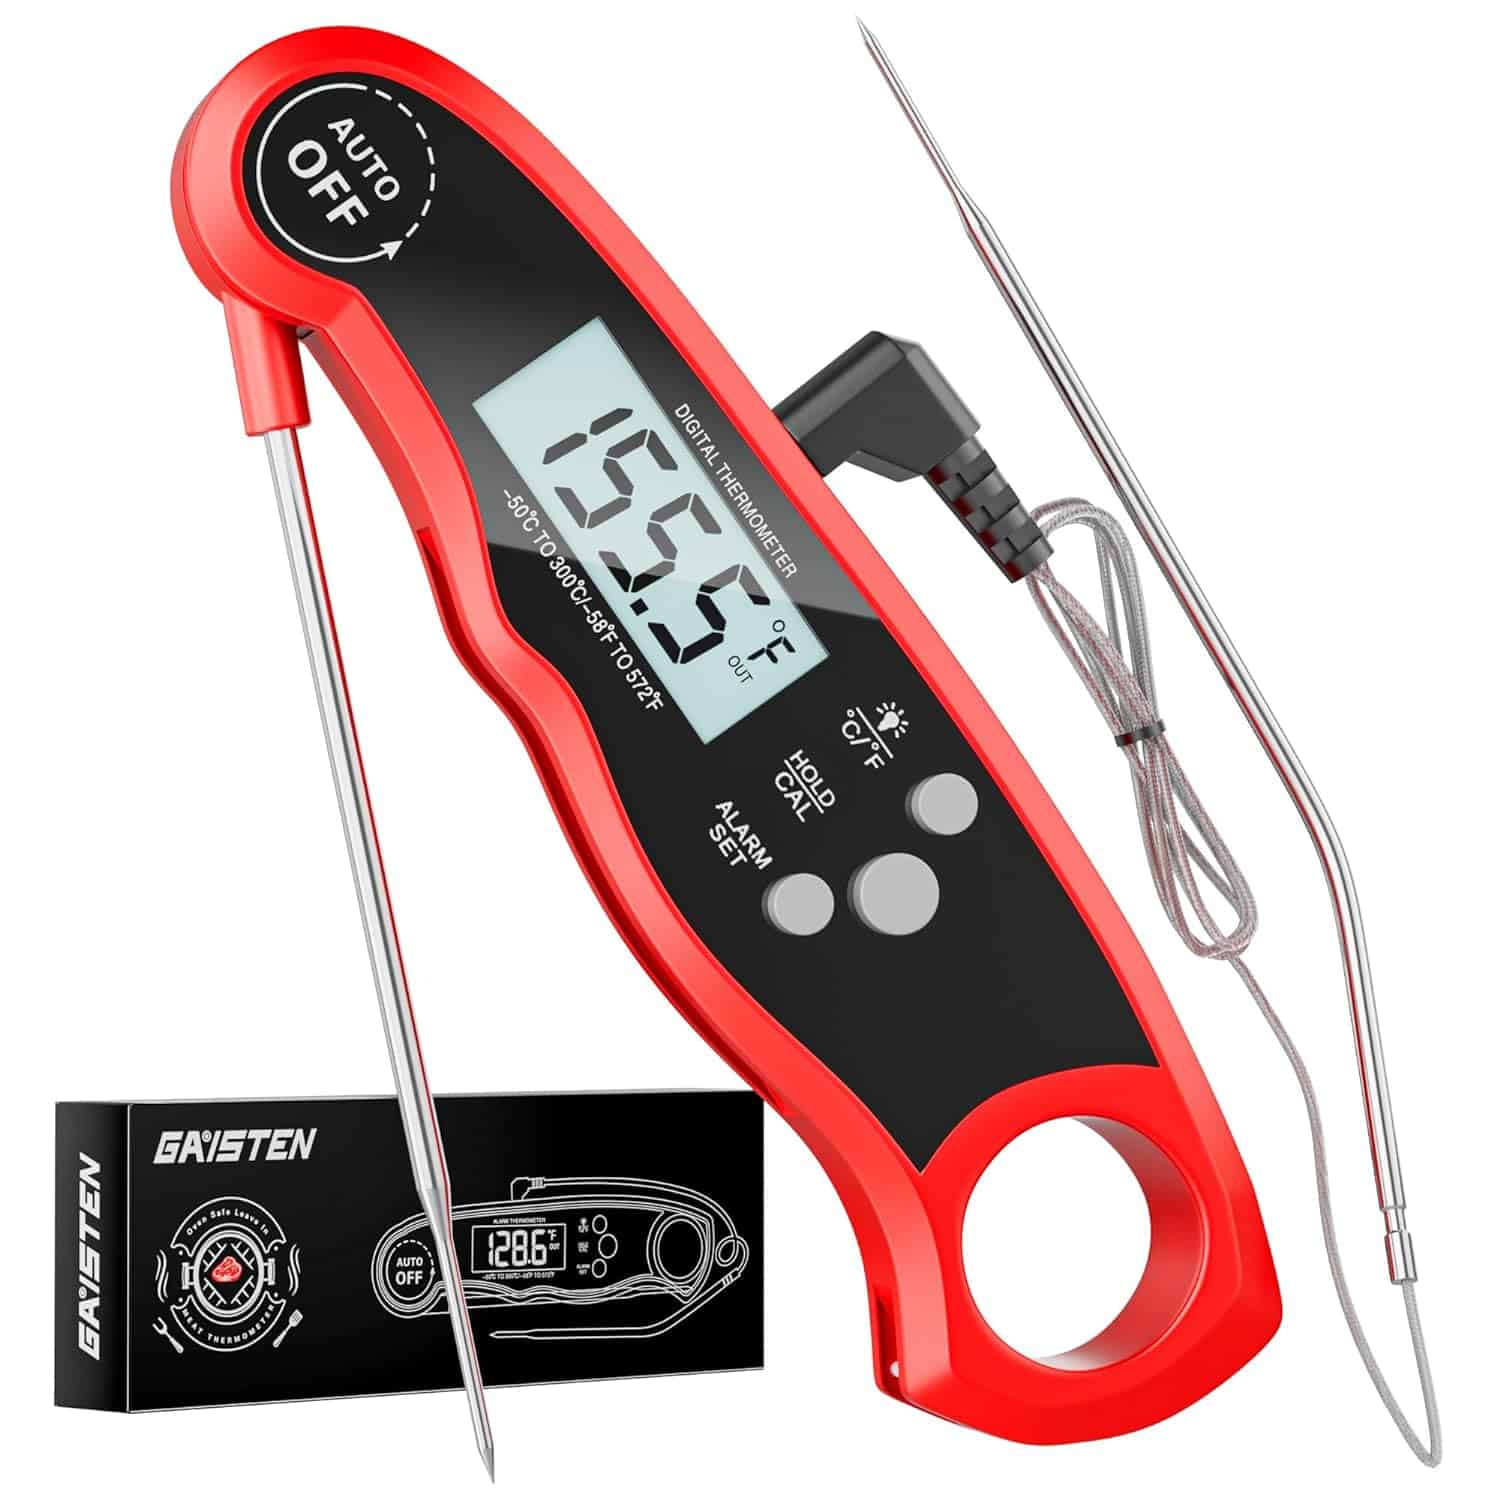 | Gaisten Digital Thermometer |
| Check Price on Amazon |
 | Parchment Paper |
| Check Price on Amazon |
 | Steamer Rack Trivet |
| Check Price on Amazon |
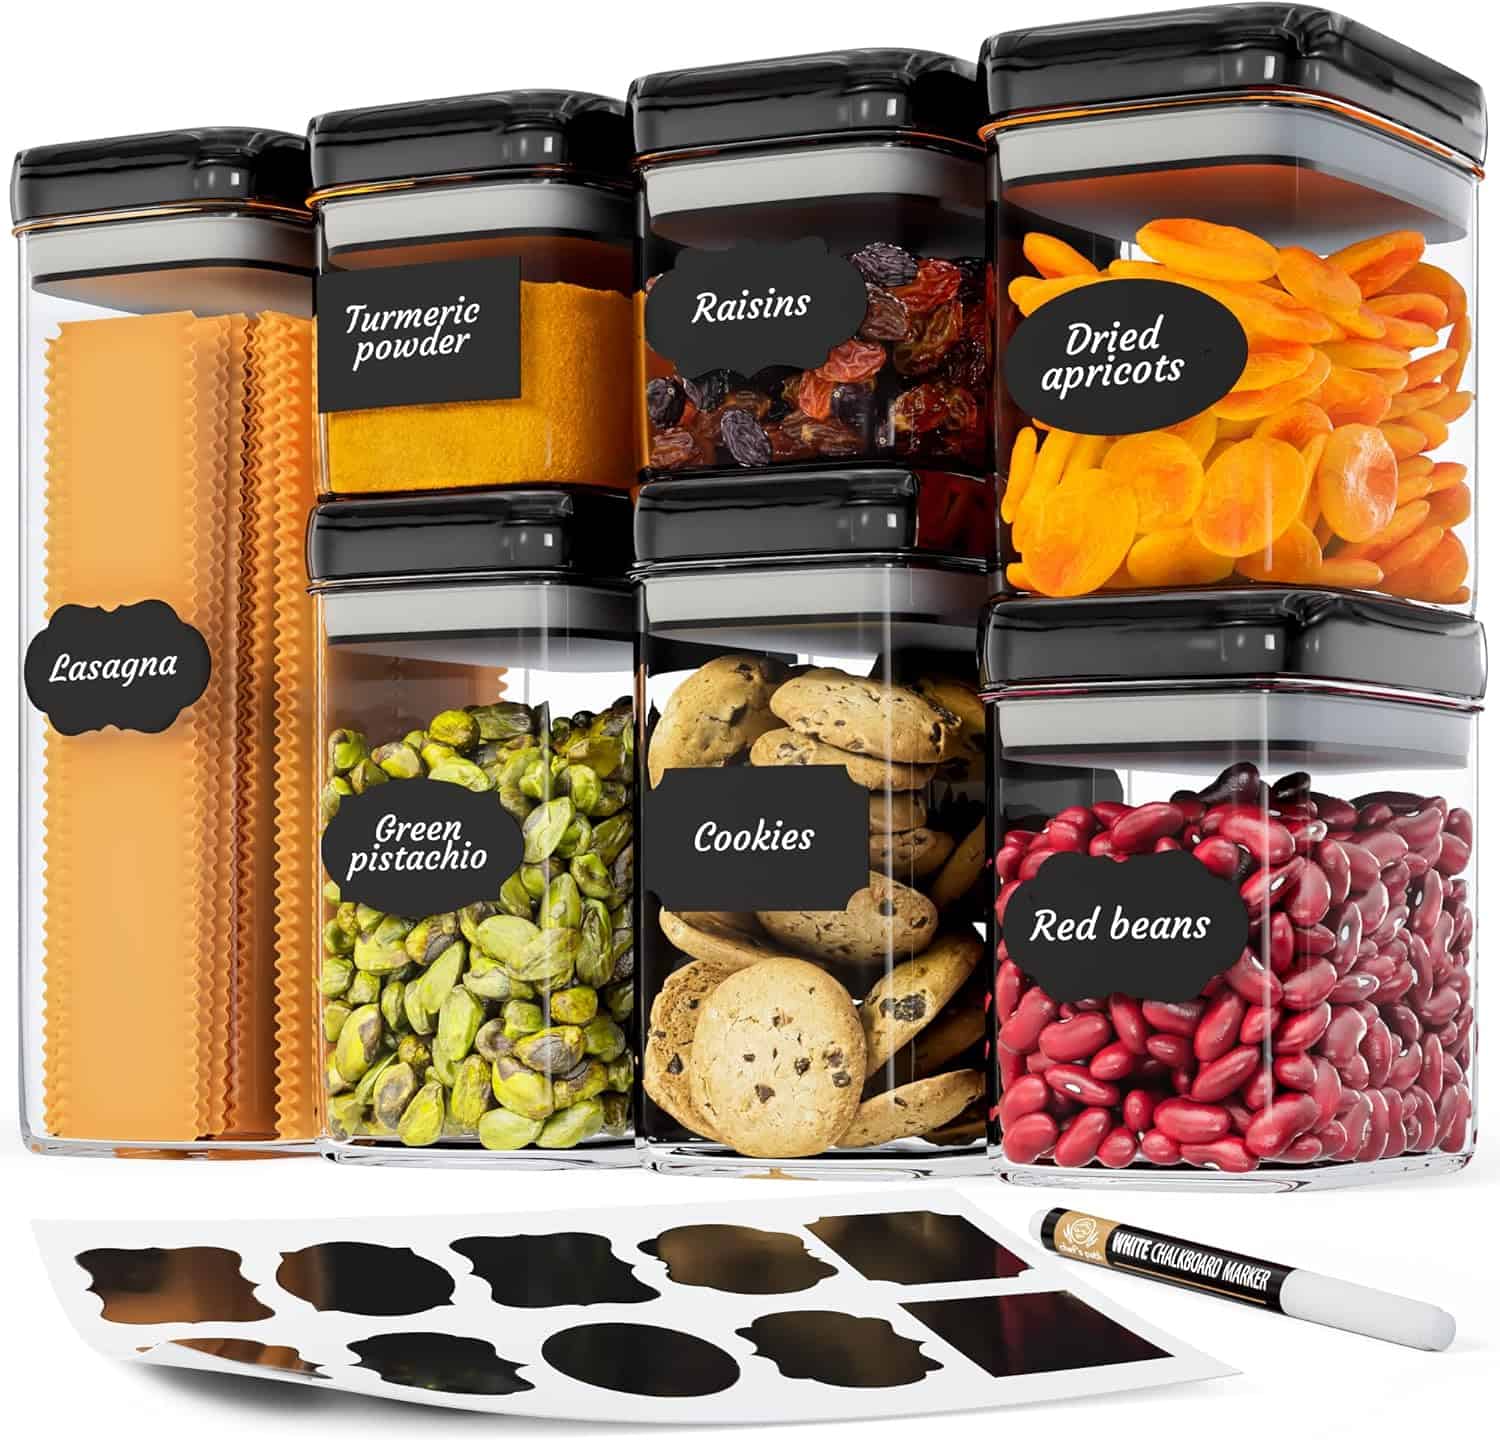 | Chef’s Path Airtight container |
| Check Price on Amazon |
 | Cosori Food Dehydrator |
| Check Price on Amazon |
 | Magic Mill Food Dehydrator |
| Check Price on Amazon |
FAQs:
What do you put on apples before dehydrating?
You don’t necessarily need anything! A simple water and lemon juice bath (1 part each) prevents browning, but plain slices dehydrate fine too. Spice it up with cinnamon, sugar, or herbs for unique flavors.
Do you have to soak apples before dehydrating?
Soaking is a choice, not a must! Skip it for faster drying, but expect some browning. For vibrant color, give them a quick dip in lemon water or citric acid first.
Should dehydrated apples be chewy or crispy?
It’s totally your call. Dehydration time decides, If you Thinly slice it and dry it for a short time then it will be chewy but if you slice it in thicker pieces and dry it for a longer time it will be a crispy delight.
How thick should you slice apples for dehydrating?
If you want to make it crispier then go for ⅛-¼ inch and if you want to make it chewy then slice it into ¼-⅜ inch.
How do you keep dehydrated apples crispy?
Store it in airtight containers in a cool and dark place to retain its crispiness.