Is it safe to can pumpkin at home?

Yes, it’s safe to can pumpkin at home, but you need to do it carefully to avoid any risk of botulism, a type of food poisoning. Pumpkin is low in acid, which means harmful bacteria like botulism can grow if not canned properly.
What equipment do I need for canning pumpkins?

- This is essential for canning low-acid foods like pumpkin.
- It heats jars to high temperatures to kill bacteria, Water bath canners aren’t safe for pumpkin canning.
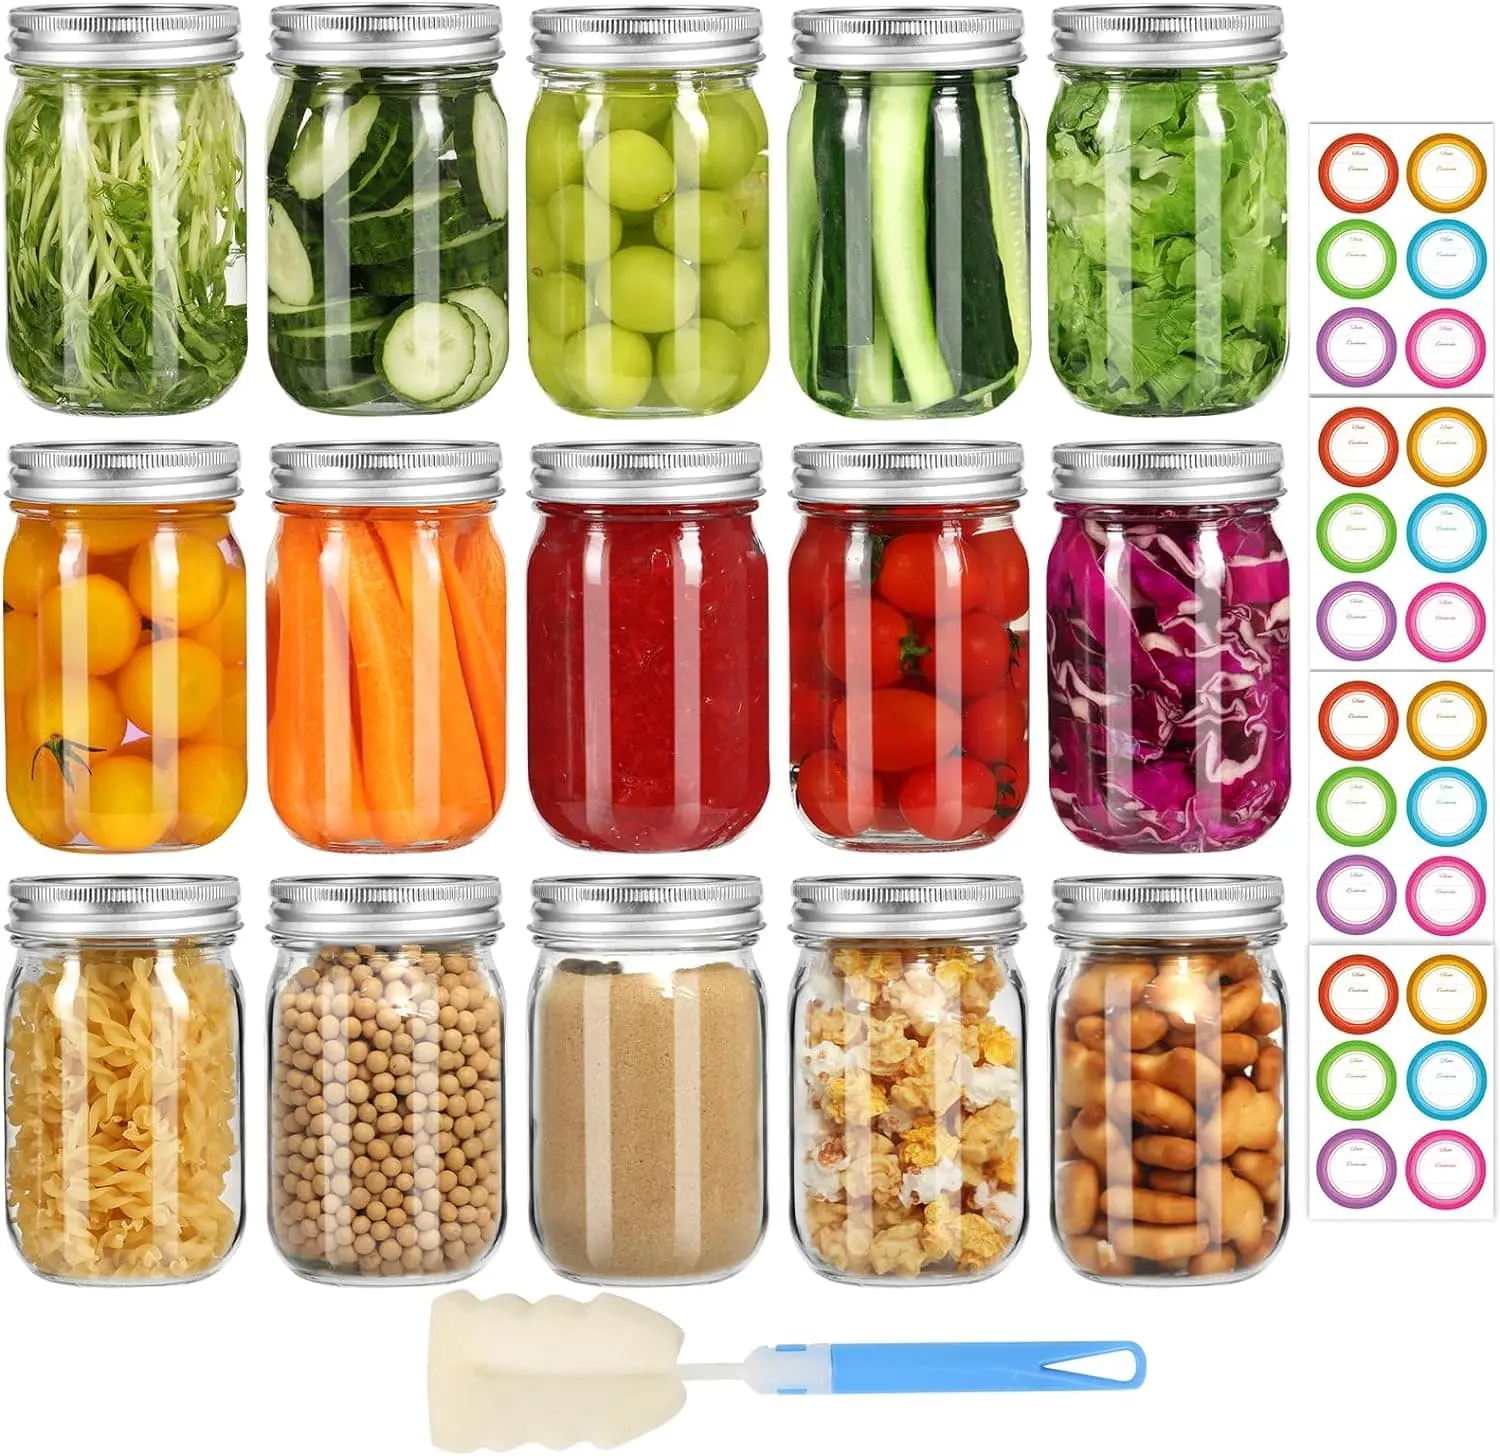
- Mason jars or other canning jars with two-piece lids are best.
- Always verify that they’re in good condition with no chips or cracks.
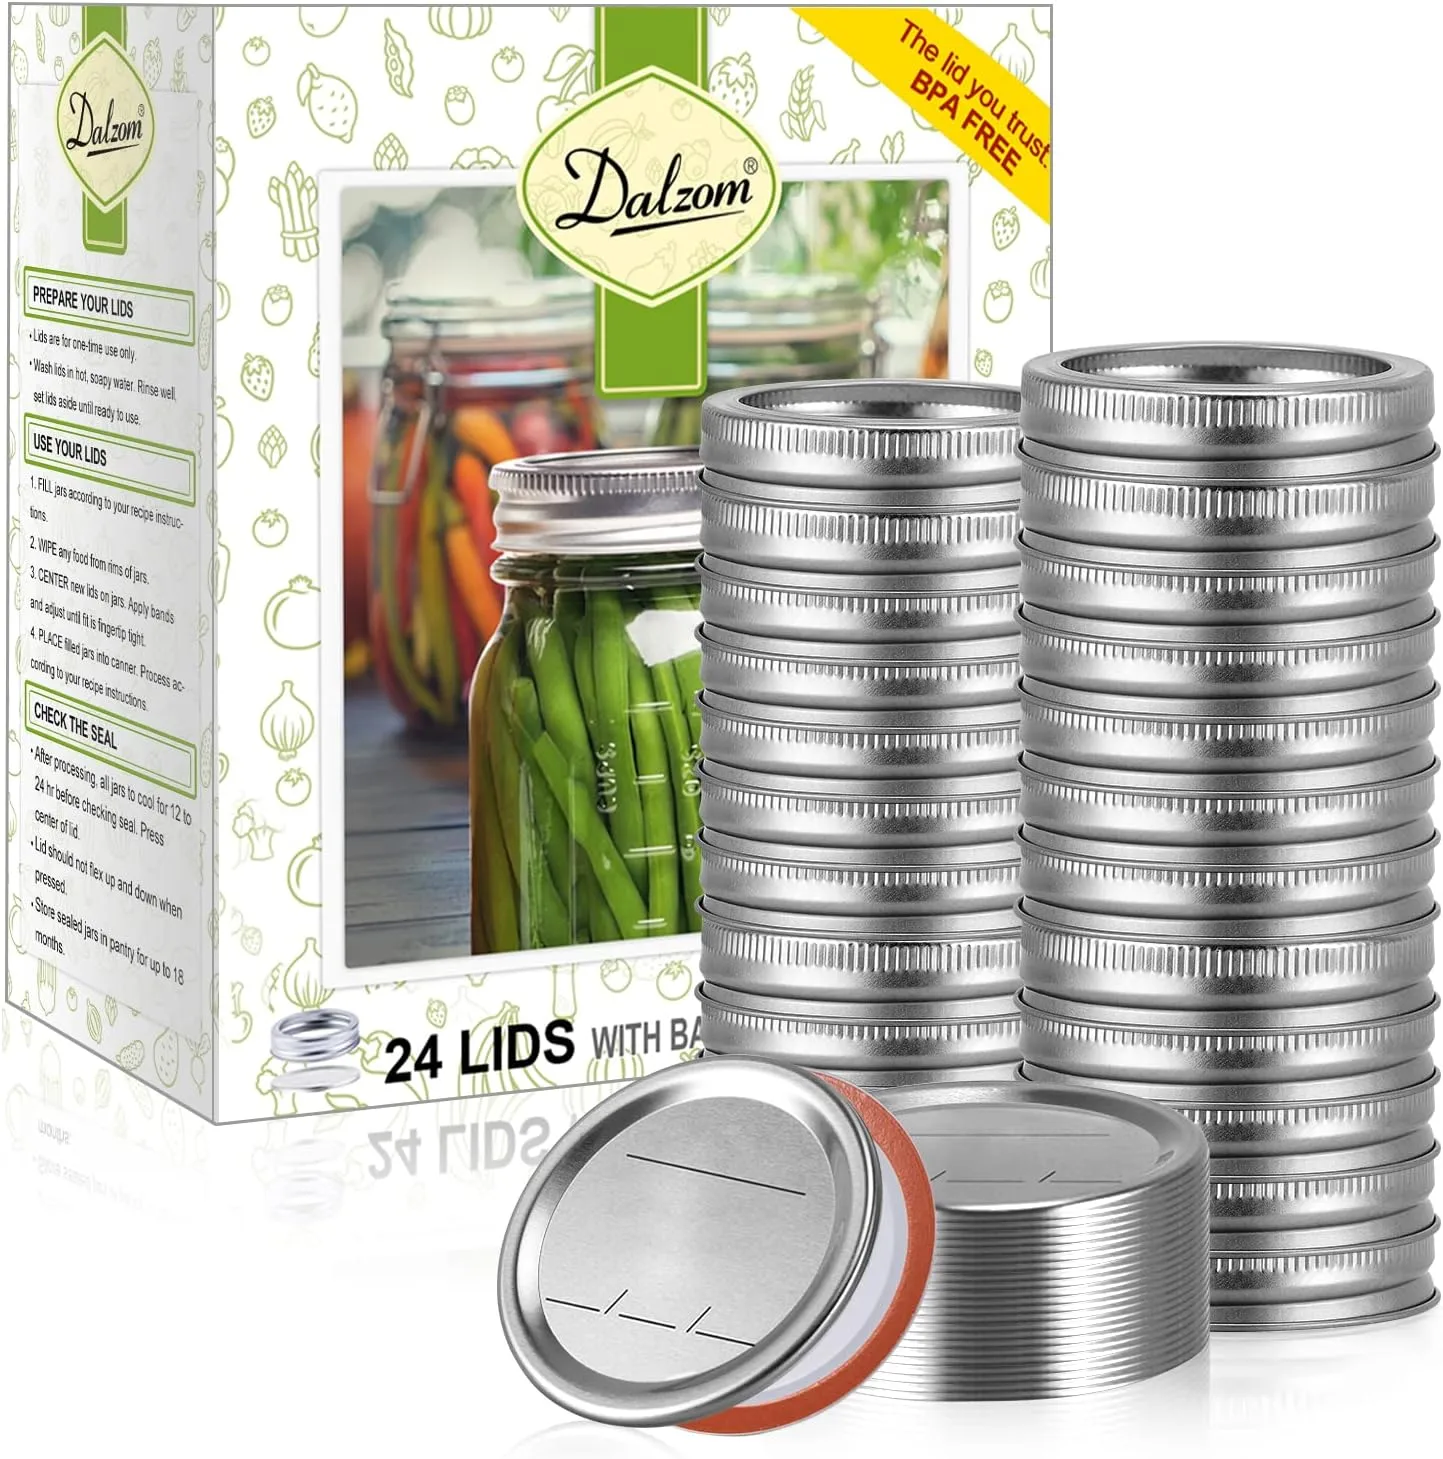
- You’ll need new lids for each jar, and bands to hold the lids in place during processing.
- For cutting the pumpkins into chunks or pieces.

- A wide-mouthed funnel makes filling jars easier and cleaner.
- For wiping jar rims and cleaning up spills.
How do I properly prepare the pumpkin for canning?
- Choose Fresh Pumpkins: Pick pumpkins that are fresh, firm, and free from any mold or soft spots.
- Wash Thoroughly: Before cutting, wash the pumpkins under cool, running water to remove any dirt or debris.
- Cut and Remove Seeds: Use a sharp knife to carefully cut the pumpkin into manageable chunks. Scoop out the seeds and stringy bits with a spoon.
- Peel or Leave Skin: You can choose to peel the pumpkin or leave the skin on, depending on your preference. If you leave the skin on, make sure to wash it well.
- Cut into Desired Size: Cut the pumpkin into cubes or slices, depending on how you plan to use it later.
- Blanch (Optional): Some recipes recommend blanching the pumpkin pieces in boiling water for a couple of minutes to help preserve color and texture.
- Pack into Jars: Pack the prepared pumpkin tightly into clean, hot jars, leaving some headspace as directed by your recipe.
- Add Liquid (if necessary): Depending on your recipe, you may need to add water, juice, or syrup to the jars before sealing.
- Follow Recipe Instructions: Always follow a tested recipe for canning pumpkin to ensure safety and proper processing times.
What canning method should I use for pumpkin – water bath or pressure canning?
Pumpkin is low in acid, which means it can harbor harmful bacteria like botulism if not canned properly. Pressure canning heats the jars to high temperatures, killing these bacteria and making the food safe to eat. Water bath canning doesn’t get hot enough to kill these bacteria in low-acid foods like pumpkins.
With pressure canning, the food is processed under pressure, usually at temperatures above 240°F (116°C), ensuring thorough sterilization. This method is crucial for preserving low-acid foods safely.
What are the steps involved in canning pumpkin?
📍Prepare the Pumpkin
Wash the pumpkins well, then cut them into chunks. Remove the seeds and stringy parts.
You can choose to leave the skin on or peel it off, depending on your preference.

📍Pack the Jars
Pack the prepared pumpkin tightly into clean, hot canning jars, leaving about an inch of space at the top.
You can pack them raw or blanch them in boiling water for a few minutes beforehand to help preserve their color and texture.

📍Add Liquid (if Needed)
Depending on your recipe, you may need to add liquid to the jars. This could be water, juice, or syrup.
Be sure to leave the recommended headspace after adding liquid.
")
📍Seal the Jars
Wipe the jar rims with a clean, damp cloth to ensure a proper seal.
Place the lids on top of the jars and screw on the bands until they’re fingertip tight.

📍Process in a Pressure Canner
Place the filled jars in a pressure canner filled with the specified amount of water.
The processing time and pressure will depend on your altitude.
For most areas in the United States, the pressure should be around 11 pounds per square inch (psi).
Processing times typically range from 55 to 90 minutes for quart-sized jars and 25 to 40 minutes for pint-sized jars.

📍Cool and Check Seals
After processing, carefully remove the jars from the canner and let them cool on a clean towel or cooling rack.
Once they’re cool, check the seals by pressing down on the center of each lid. If it’s firm and doesn’t pop back up, the jar is sealed properly.
📍Store it!
Store the sealed jars in a cool, dark place like a pantry. Any unsealed jars should be refrigerated and used within a few days.
Enjoy your home-canned pumpkin in various recipes like pies, soups, and baked goods!
What is the recommended processing time and pressure for canning pumpkins?
The recommended processing time and pressure for canning pumpkin depend on the type of pressure canner you have and the size of your jars. It’s super important to follow a tested recipe to make sure you’re doing it safely.
For most pressure canners, the pressure needed to can pumpkin is around 11 pounds per square inch (psi) for dial-gauge canners and 10 psi for weighted-gauge canners.
The processing time can vary based on factors like the size of the pumpkin pieces and your altitude. Typically, it ranges from 55 to 90 minutes for quart jars and 25 to 40 minutes for pint jars.
Always refer to a reliable canning recipe for exact processing times and pressures. These recipes have been tested to ensure they kill any harmful bacteria and keep your canned pumpkin safe to eat.
How long will canned pumpkin last, and how should I store it?
Canned pumpkins can last for a good while if stored properly. Usually, it’s safe to use for about 1 to 2 years if kept in a cool, dark place like a pantry. Make sure the jars are tightly sealed and check for any signs of spoilage before using.
Once you open a jar of canned pumpkin, it’s best to store any leftovers in the fridge. They should be okay for about 3 to 4 days. Just transfer the pumpkin to a clean, airtight container before refrigerating.
If you notice any signs of spoilage, like mold, weird smells, or if the lid is bulging, don’t eat it. It’s better to be safe than sorry when it comes to canned foods.
Are there any special precautions I need to take when canning pumpkins?
📍Use Fresh Pumpkin: Choose pumpkins that are fresh and firm.
Free from any mold or soft spots.
📍Use Pressure Canning: Only pressure canning is safe for pumpkins because it’s low in acid. Water bath canning doesn’t get hot enough to kill harmful bacteria.
📍Clean and Sanitize: Make sure all your equipment, jars, and utensils are clean,
sanitized before you start canning.
📍Leave Proper Headspace: Leave the recommended amount of headspace in your jars as specified in the recipe. This allows for proper expansion during processing.
📍Check Seals: After processing, check that the lids have sealed properly. If any jars haven’t been sealed, store them in the fridge and use them within a few days.
📍Store Properly: Store canned pumpkins in a cool, dark place like a pantry. Once opened, store any leftovers in the fridge and use them within a few days.
Can I add any spices or flavorings to the canned pumpkin?
Yes, you can add spices or flavorings to the canned pumpkin if you want to give it extra flavor. Common spices to add include cinnamon, nutmeg, cloves, ginger, or pumpkin pie spice. You can also add a bit of sugar or honey to sweeten it up if you like.
When adding spices or flavorings, it’s important to follow a tested recipe to ensure safety. Adding too much or the wrong kind of spices could affect the acidity level of the pumpkin, which might make it unsafe for canning.
If you’re unsure about how much spice to add, start with a small amount and taste it. You can always add more if you want a stronger flavor. Remember to stir the spices or flavorings into the pumpkin well before canning.
By adding spices or flavorings, you can customize your canned pumpkin to suit your taste preferences.
What recipes can I use the canned pumpkin in once it’s prepared?
Pumpkin Pie

Use canned pumpkin as the main ingredient for a classic pumpkin pie.
Pumpkin Bread or Muffin

Add canned pumpkin to your favorite bread or muffin recipe for a moist and flavorful treat.
Pumpkin Soup

Make a creamy pumpkin soup by combining canned pumpkin with broth, spices, and cream.
Pumpkin Waffles

Add canned pumpkin to your pancake or waffle batter for a tasty fall breakfast.
Pumpkin Pasta Sauce

Use canned pumpkin as the base for a creamy pasta sauce with garlic, sage, and Parmesan cheese.
Pumpkin Smoothie

Blend the canned pumpkin with yogurt, banana, and spices for a delicious and nutritious smoothie.
FAQs:
How long can pumpkin pie last in the fridge?
Pumpkin pie can last in the fridge for 3 to 4 days if tightly covered or stored in an airtight container.
What can I make with pumpkin puree?
You can make various dishes with pumpkin puree, including pumpkin pie, pumpkin soup, pumpkin bread, pumpkin pancakes, and pumpkin risotto.
What can you do with pumpkin guts?
Pumpkin guts can be used to make roasted pumpkin seeds, composted for gardening, or used in recipes like pumpkin stock or pureed into soups.